Sticky logo
 Search

With its reliable engine, comfortable geometry and affordable price, Kawasaki’s KLX250 series is one of the best and most affordable 250cc options around. Never leaving well enough alone, we set out to “ADVMotize” upgrade this already great bike into something with higher performance. In the process, we also made it more comfortable and usable for a wider range of riders and purposes. A KLX you could take to the store, on dirt trails, or around the world… and not have to be over six feet tall to ride.
Pro Taper SE ATV Bars
While we chose the KLX250SF over the “S” for its smaller wheels and one inch lower suspension, its shorter handlebars made standing awkward. We found the mid-rise Pro Taper SE ATV bar offers a good balance between cost, correct standing geometry, light weight and vibration reduction.
 ADVMoto's KLX250SF with all added parts.
Although thick wall aluminum takes a little while to cut through with a hacksaw, once at the right length the taller bar could be installed with minimal re-routing of the stock cables. If you’d like it even higher, most 7/8- inch riser blocks will work; however, this will sacrifice the windscreen.
Twisted Throttle Denali D2 Lamps and Custom Piper Motorsport Light Mount
 Front view showing Twisted Throttle's Denali D2 LampsYou can never have too much light on a bike, and smaller bikes are well known for inadequate Lumens for safe after-dark riding and visibility in daytime traffic. At the same time, adding giant auxiliary lights doesn’t make much sense as they can look out of proportion and are susceptible to damage when dropped or kissing a tree.
Small single LED lamps are the way to go on a project like this since they are both more compact and consume very little energy. Twisted Throttle’s Denali D2s fit like a glove on the KLX250, with 900 Lumens providing ample nighttime illumination and plenty of daytime visibility. The D2’s casings are well built and the wiring harness is one of the best around, if not a little too long.
 Piper Motorsport custom light mountsUnfortunately, the KLX250 lacks good auxiliary mounting spots. After much fiddling and head scratching, the lower triple tree hosts a few accessories like line guides and the round orange safety reflectors. The light had to be mounted in front of the fork tubes because full turns put the inside leg too close to the radiator and shroud.
This problem was easy to resolve thanks to Mitch Piper, at Piper Motorsport, who went the extra mile by creating a beautiful, strong and lightweight mount we wish was in regular production. The end result is a wonderfully sculpted, rock-hard light mount that protrudes about two inches from the fork tube and has the necessary cutout for the brake line running down the left leg.
Seat Concepts KLX250 Low Saddle
 This Seat Concepts low saddle makes the bike friendly to the height-challenged riders.Proper seat height is by far one of the most important factors in building confidence off road, or as a new rider. There are various ways to achieve this but, for the heightchallenged, the simplest is to obtain a lower seat. Since this project revolves around the idea of making a dual-sport bike suitable for riders with inseams less than 30 inches, we went straight to the guys at Seat Concepts to try out their DIY saddle solutions. Seat Concepts offers both a regular height saddle (which sits slightly higher than stock) and a lower saddle, priced the same
The lower Seat Concepts saddle really pays off in standing height on a bike like the KLX. Although the resulting dip-like profile to the saddle looked like a potential sore spot, we were happy to find there was no issue with sliding forward. If you’re concerned about sliding on the seat, you can have the top panel replaced with a stickier “gripper” vinyl. Although quite a bit of foam was removed to lower the saddle height, the broadened seating area with denser foam made for a firm but forgiving saddle experience.
Seat Concepts: DIY Installation
 Removing the old material is easy.We installed a Seat Concepts DIY saddle on the stock KLX seat pan to see how difficult it would be. If you’re not afraid to tackle mildly challenging jobs, then installation shouldn’t be a problem, given the right tools and time. The most important tool is a staple gun, and they’re inexpensive and handy for other projects if you don’t already own one.
 Be sure to put in enough staples!The trick to installing the seat kit is to first glue the foam to the pan, then center the cover over the foam, securing it at both ends with multiple staples. After that, you just work your way down the sides, tightening and stapling as you go. Check that your seams align to the edges of the foam from time to time and you’ll be done before you know it.
You’ll need about 90 minutes if this is your first time, but after doing it once or twice, it could easily be dropped to less than 45 minutes on simple seat pans. If none of this is up your alley, Seat Concepts also now offers versions with seat pans for a nominal fee.
Z-Carbon-It’s all Over
No one makes more bolt-on protective carbon pieces for the KLX250 than Z-Carbon from Japan. Their designs are strong, attractive, and weigh next to nothing. The folks at Zeta Racing were kind enough to send us some samples of their work, from caliper covers to hand guards, fork wraps, heel plates and shorty levers.
 Z-Carbon Frame/Heel GuardThe handguards with integrated LED signals may not be noticeable enough for commuting or riding in traffic so we left them disconnected. However, if you’re not concerned with traffic, they’re a great way to keep your bike street-legal while getting rid of the long plastic turn signal stalks that are usually the first thing to break when the bike is dropped.
Fitting Zeta Racing’s three-fingered levers behind the handguards was easy. Their pivoting levers are a definitive upgrade over stock in terms of action, adjustability and durability. Stock-length levers will also work, but having a little extra room to move fingers around behind the handguard was very welcome as was having more adjustability for smaller hands.
 Z-Carbon Caliper GuardLast, but definitely not least, are Zeta Racing’s ZCarbon bits. While simple pieces like caliper guards and fork tube wraps may seem superfluous, there’s no doubting the quality of their work once you see them. The heel guards are stronger and lighter than stock. The right-side heel cover also protects the rear brake master cylinder. The actual carbon fiber fork tube wraps not only look nice but offer serious protection against any scratches from running through brush or laying it down in the dirt. You buy crash gear hoping never to use it, but if you do, Zeta’s carbon fiber parts have you covered from caliper to caliper.
Parts List
| Product | Website | Price (USD) |
| Seat Concepts | SeatConcepts.com | $159.99 (DIY) |
| Low Saddle | $254.99 (Complete) | |
| Pro Taper Bars | ProTaper.com | $69.95 |
| Denali D2 Lamps | TwistedThrottle.com | $364.99 |
| Custom Headlight Mounts | PiperMotorsport.com | N/A |
| Zeta Z-Carbon Frame/Heel Guards | ZetaRacing.com | $101.95 |
| Zeta Z-Carbon Drive Cover | ZetaRacing.com | $59.95 |
| Zeta Z-Carbon Caliper Guard | ZetaRacing.com | $55.95 |
| Zeta Z-Carbon Fork Wraps | ZetaRacing.com | $57.95 (Upper) |
| (Upper and Lower) | $71.95 (Lower) | |
| Zeta XC Bend Handguard | ZetaRacing.com | $86.95 |
| Zeta Protectors XC | ZetaRacing.com | $21.95 |
| Zeta Pivot Levers | ZetaRacing.com | $53.95 |
| DP Brakes | DP-Brakes.com or Amazon.com | $25-$45 |
{gallery}ARTICLES/Bikes/KLX250SF_Part_II/Gallery_Images{/gallery}
Summary
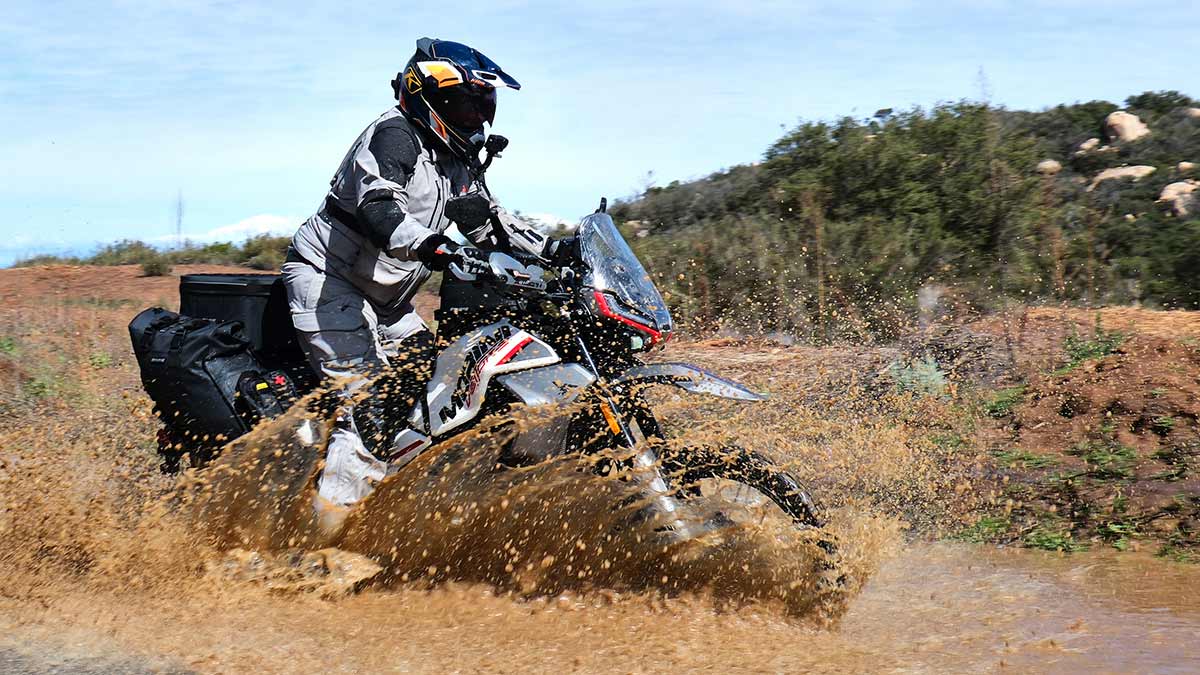
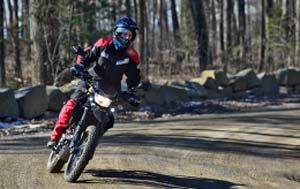
 ADVMoto's Web Editor, Amy Green, checking some traction.ADVMoto’s modified KLX250SF has been a tremendously successful project. Despite some factory bugs like lean carburetion and wonky automatic cam-chain tensioners (issues addressed by the aftermarket), the KLX250ADV has proven to be an incredibly versatile, fun and efficient ride— suitable to a wide range of situations with minor modifications. Having nine inches of adjustable suspension travel, strong braking and an estimated 32-inch saddle height (as opposed to 35 inches for the “S” model), this is one comfortable, fun and affordable mount to take around town, country or trail.
 Read: KLX250SF - Part One, Click HERE!