Sticky logo
 Search

Unlock text to speach and become a member!
| Andrew Nguyen | Gear
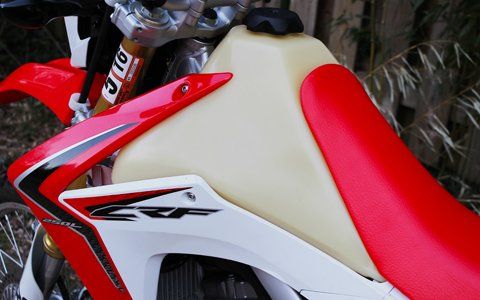
ADVMoto set out to extend the range on our Honda CRF250L project bike. Despite being very fuel efficient, the 250L’s stock gas tank is only 2 gallons leaving us with a range of only 150 miles. IMS Products sent us their 3.1 gallon tank made specifically for the “Little Red Pig”, increasing our potential range to over 200 miles.
• Tools Needed:
•Basic metric socket set with extensions
•Allen key set
•Phillips head screwdriver
•A tool to trim the plastic shrouds (heavy duty scissors, dremel, wire clippers, etc.)
•Siphon and gas can
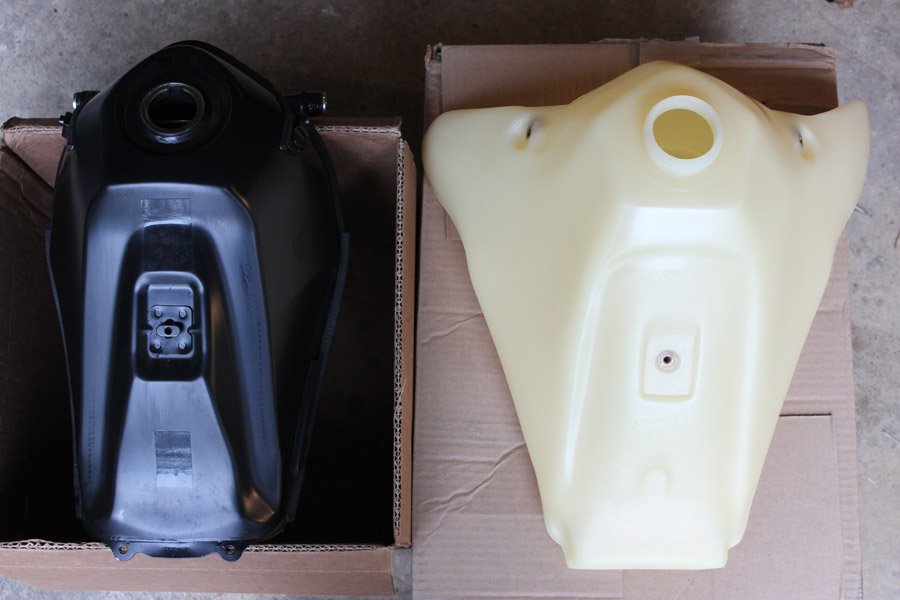
A side-by-side comparison of the tanks shows the size and shape difference between the two. The new tank is a bit wider and taller than the stock one and increases capacity through “winglettes” on each side. The hardware includes everything you need to mount the tank to the bike, including bolts, brackets and fuel line. IMS supplied basic instructions with the kit, but their website has more detailed instructions with pictures.
We started by removing the side plastics, seat and tank after siphoning out the fuel. The rear retaining tank bolt can be tricky to get to and it helps to have a socket with a pivoting head. IMS instructed to remove the fuel pump from the tank after disconnecting the wire harness connection and fuel intake line. Instead, we left all of the connections in place, simply removed the pump from the stock tank and bolted it into the new tank. The stock gasket is reused.
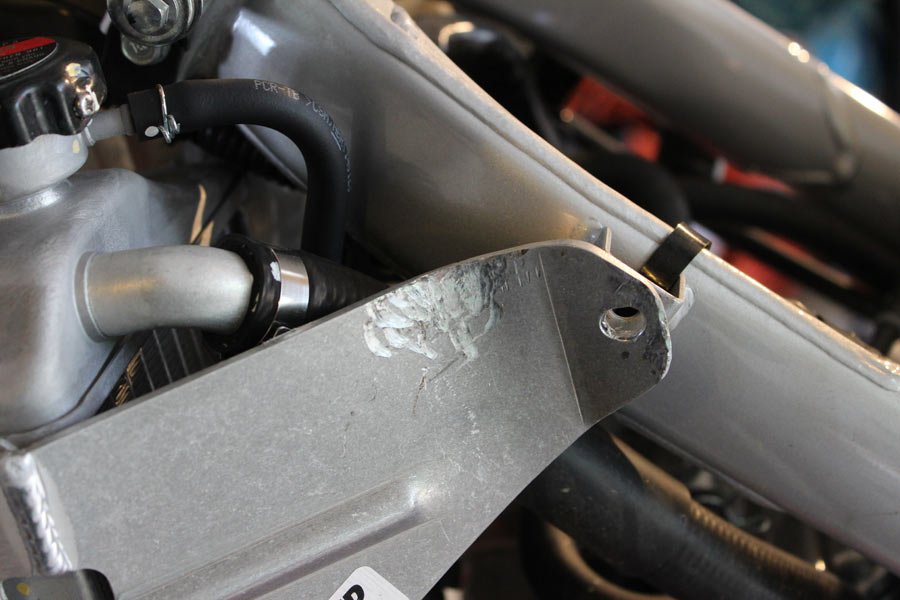
Problems arose in the form of clearance issues with the previously installed radiator guard by Flatland Racing. This isn’t IMS’s fault and the solution was easy to find using the power of the internet. A few well-placed wacks with a hammer bent the guard enough for the tank to clear. We had to add an additional bolt for the radiator guard since one of the mounting points for the tank was relocated.
Next, the tank shrouds needed to be trimmed. We lightly bolted the shrouds back onto the bike to see what and where we needed to cut. Wire cutters were used to clip away the excess plastic. Take your time, the plastic is soft enough to be precise. Optional use of a heat gun can be used to smooth out the new edges.
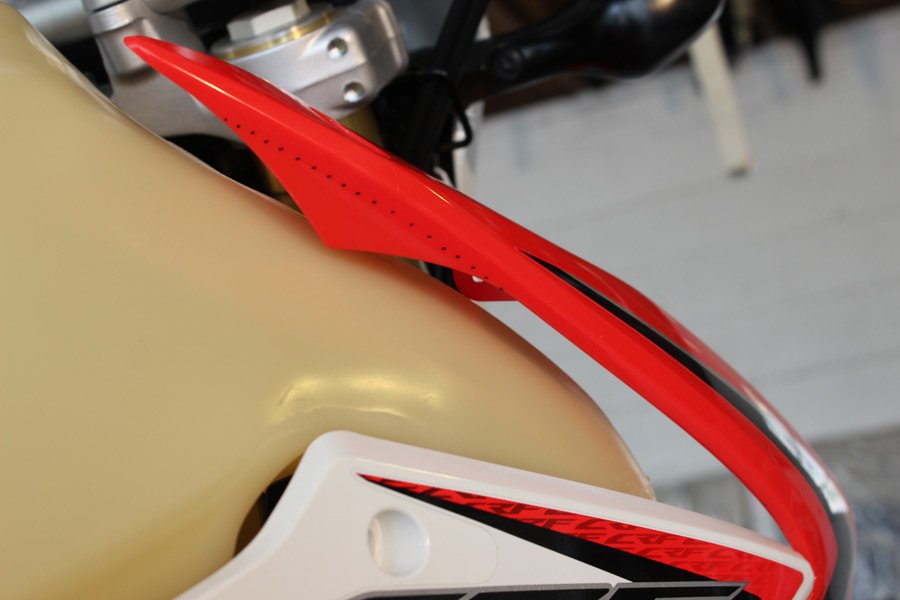
There are 3 mounting points for the tank and 4 mounting brackets for the plastics. After the tank is bolted-on leave the brackets for mounting the plastic slightly loosened. This will allow some wiggle room to make sure everything lines up properly. Have a buddy hold the plastics in place while you tighten down the brackets.
We chose the clear (natural) colored tank so we could see how much fuel we’ve got left. Filling up the tank for the first time offers an opportunity to make marks at each gallon level. A permanent marker was used to make a small dot on the tank then we cut-up some decals that were laying around for a clean look.
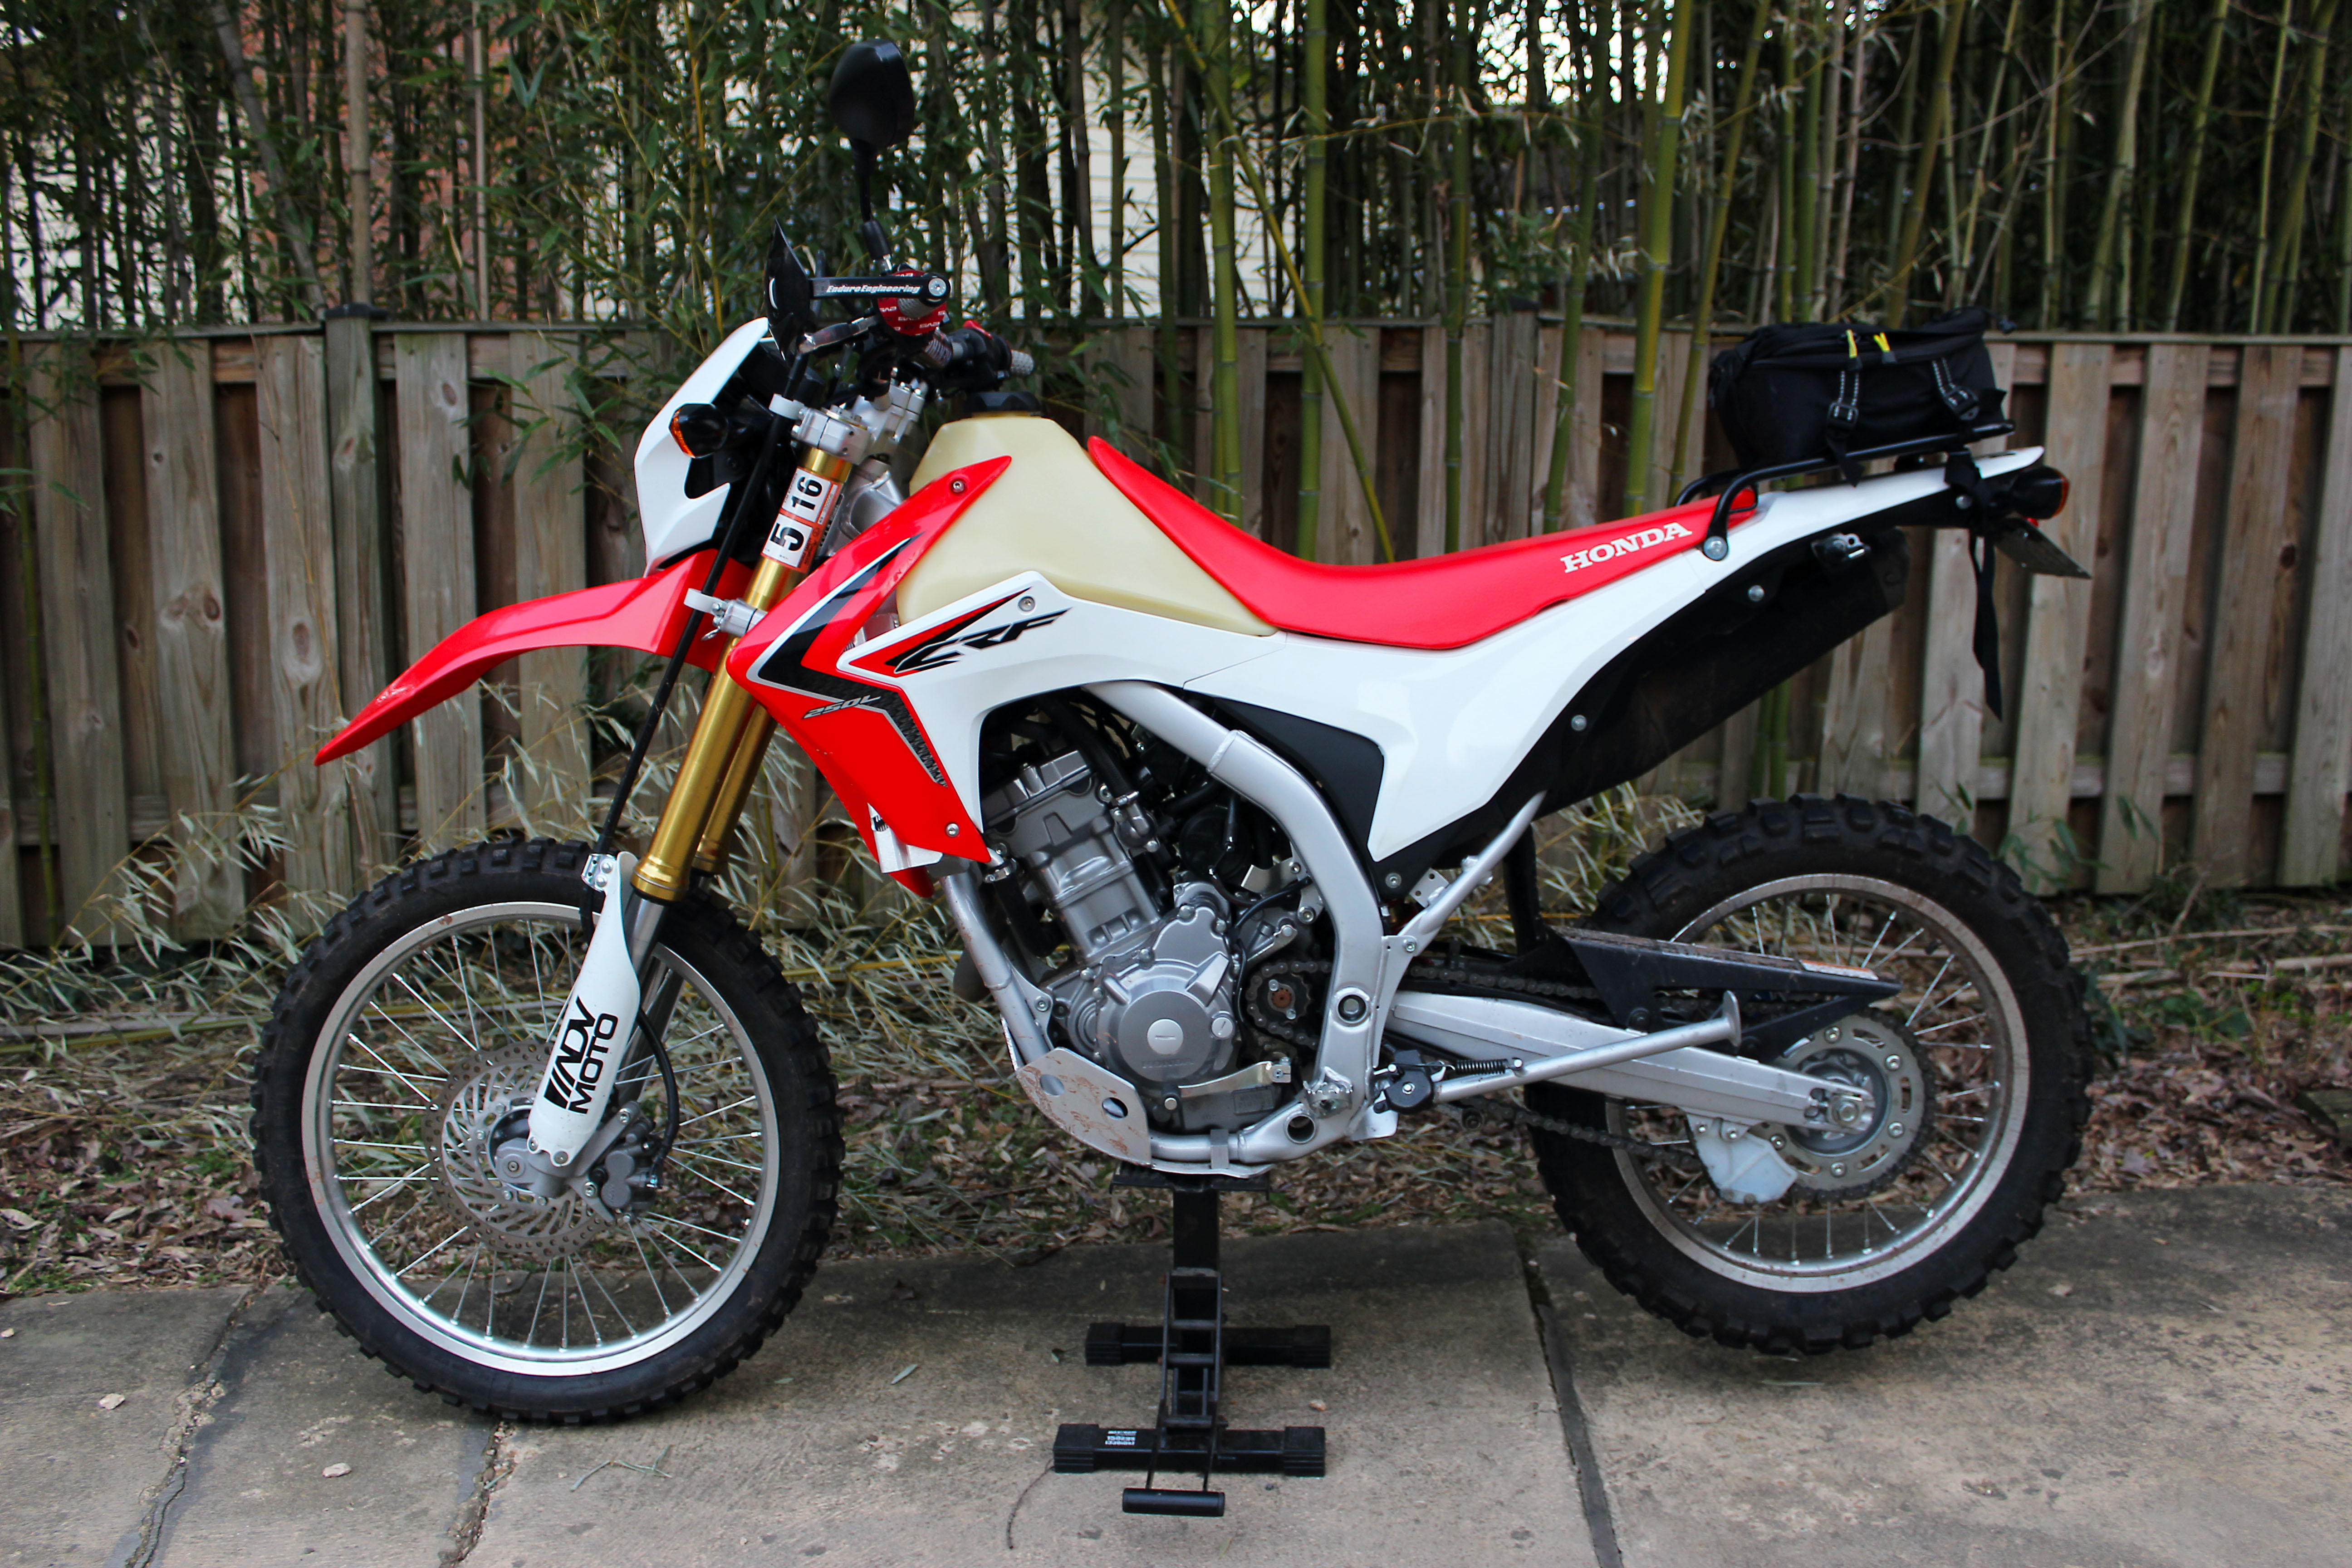
Overall the tank was easy and straight forward to install. The supplied instructions would be sufficient for most techs and the online manual with photos made it even easier. There were no surprises besides the clearance issues with the radiator guard. ADVMoto will be heading to March Moto Madness to test the progress of our CRF250L project bike. Be sure to stay tuned for a full review of the IMS tank and other modifications that helped this little dual-sport transform into a capable enduro! MSRP: $274.95 IMSProducts.com
See the ADVMoto CRF 250L Rally Replica review here!
AntiGravity Batteries
Race Tech Suspension
Dobeck Racing's EJK Kit
Rally Replica Fairing and Tower
Risk Racing Fusion 2.0 Grips
Galfer and Bel-Ray Brake Upgrades