Sticky logo
 Search

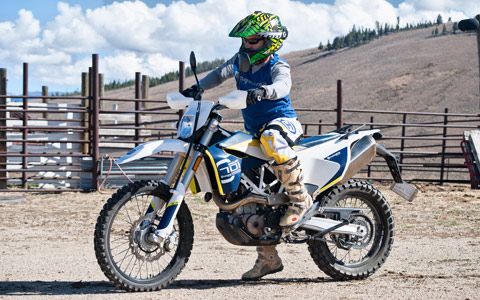
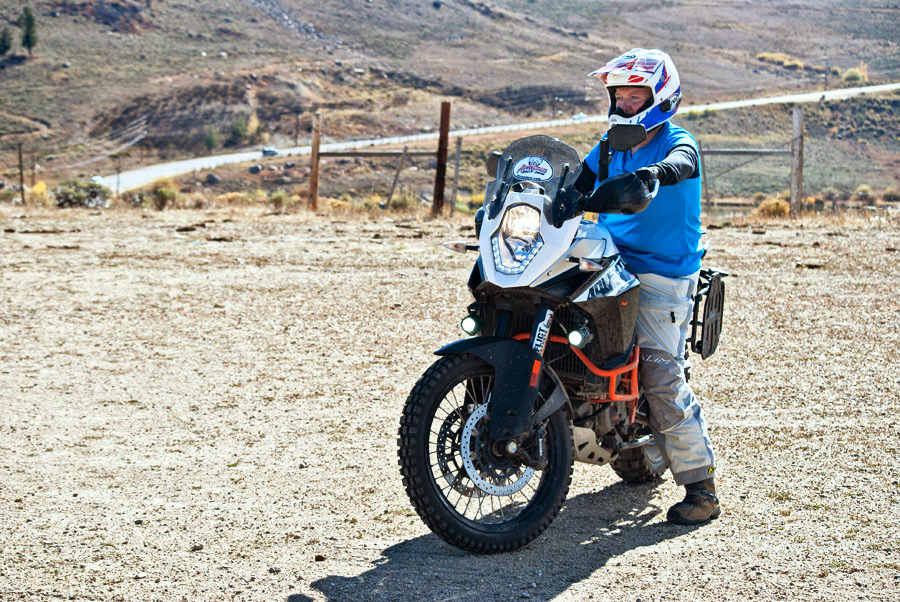
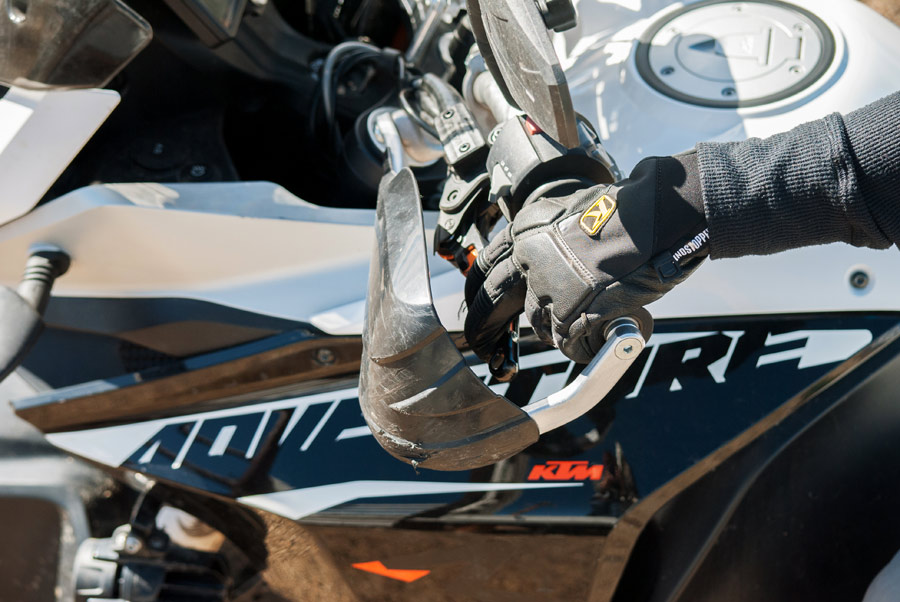
As a former pro motocross racer turned instructor, I love sharing my experience of single-track and technical adventure riding. As a 5'5" woman with a 29-inch inseam, just getting my KTM 1190R off the side stand can be an adventure. While I laugh at logs, rocks, ruts, and sand, those slow, tight turns at the gas station require choosing a motorcycle that fits, proper bike set-up, and the rider skills I have developed and teach at ADVWoman.
• Technique One: Getting on the Bike
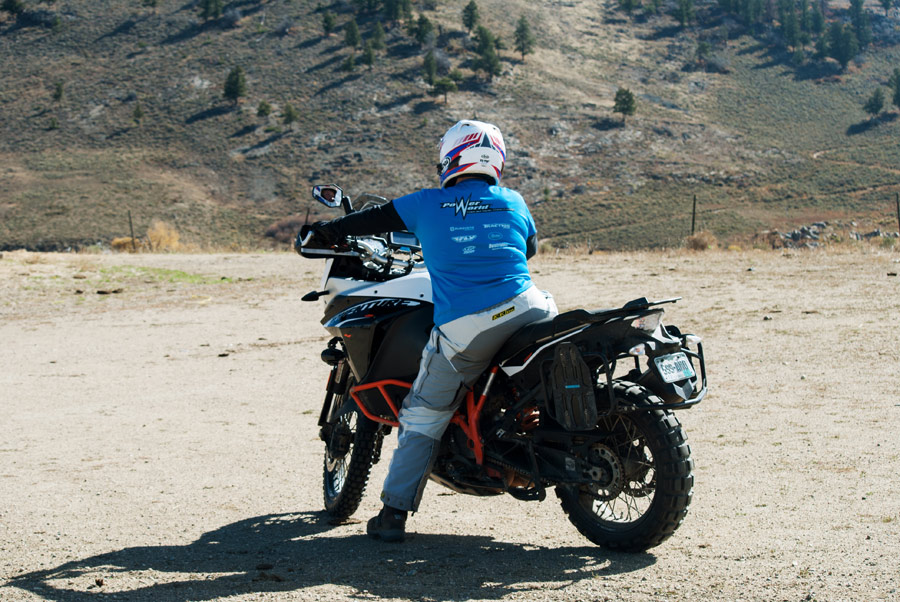
To mount a tall bike, turn the handlebars away before getting on or off. Put the bike in gear, so it doesn’t move. Starting on the left of the motorcycle, turn the handlebars as far right as they will go. The bike then leans down and toward the rider, resulting in a big difference for short riders.
Big ADV bikes with heavy-duty kickstands can be mounted with the side stand down. Smaller, lighter dirt bikes should be mounted with side stand up. Once mounted, to get the side stand up, shift your body to the right side of the seat and plant your right foot on the ground. Lean the bike slightly to the right and kick up the side stand. (Keep the side stand well lubricated.) Bring the bike to an upright position by combining the strength in your arms, pushing from your right foot, and weighting the left foot peg.
Another technique is the “running start” mounting method. Raise the side stand, start the engine, pull in the clutch, put the bike in gear, ease the clutch out and jog next to the bike a step or two before putting your left foot on the peg, swinging up and over. Use the reverse process to dismount. This method requires coordination, balance, and good throttle and clutch control.
• Technique Two: One Foot Down, Dead Bike Balance
I teach all adventure and dirt bike riders to put only a single foot down. Moving quickly and SMOOTHLY side to side, with one foot on the ground is an essential skill. All slow maneuvers need to be smooth, controlled, and balanced. To learn balance, in a safe environment begin with the engine off and a spotter at the back of the bike to catch you if you lose your balance. 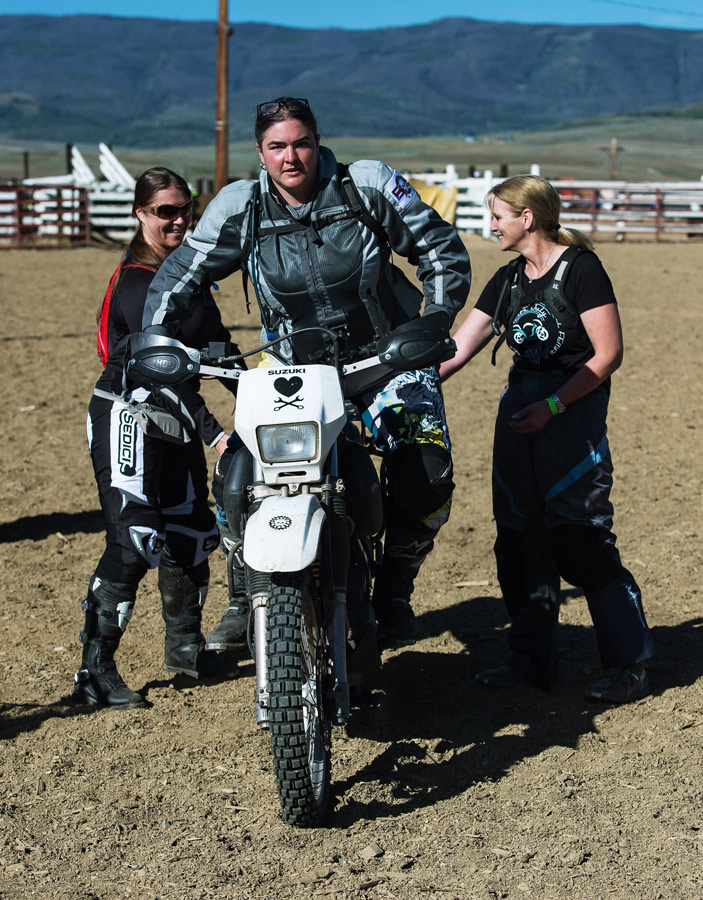 Start with your left foot on the ground just outside of the footpeg. Your right butt cheek is all the way over on the left side of the seat. Your right foot is on the right footpeg. Now push up and over on your legs so your right foot is on the ground and your left foot is on the peg. The left butt cheek should be on the right side of the seat. Practice this side to side “hopping” to get accustomed to being dynamic on the bike and training muscle memory to scoot from side to side. Try not to use your arms. It’s all about your legs. This maneuver sounds easy, but for short riders, bending the leg and ankle to get enough spring to get up and over takes work.
Once you consistently and smoothly hop side to side while maintaining balance, practice seated balance. Pull your foot up to the peg and center your body on the seat while balancing the bike. When you lose your balance, quickly shift to get a foot down. Practice both sides, going from foot on the ground to seated balance, to foot on the ground.
Finally, practice going from one foot on the ground to a standing balanced position before shifting body and foot down to the side. When you tire and/or master these steps, trade off and spot your partner.
• Technique Three: Slow Speed Balance. “Rock It. Crawl It. Walk It.”
Slow speed balance is especially crucial for shorter riders. “Slow,” means clutch control. “Rock it. Crawl it. Walk it.” is all about mastering clutch control. Practice with a spotter in a smooth, flat area.
Astride your running motorcycle with one foot down, pull in the clutch. (Try using two fingers on the clutch.) Put the bike in first gear. Do not use any throttle. (Most ADV bikes have enough torque to move between 5 and 10 mph without any throttle.) This is 100% about clutch control. Release the clutch to the point of engagement. As soon as you feel engagement, pull the clutch back in. This will result in the bike rocking gently without moving forward. Repeat this in-and-out clutch engagement, disengagement and feel the bike rock underneath you. Everything needs to be smooth and controlled.
Now, “crawl” the bike by releasing the clutch just enough that the bike moves forward five or six inches before pulling the clutch back in. Gently repeat this crawling and stopping sequence until you can move and pause the bike exactly when and where you wish. Do not use the throttle. Do not use the brakes. This is all about clutch control.
Finally, “Walk It” by releasing the clutch just enough to allow the motorcycle to move five or six feet before pulling the clutch back in and coasting to a stop. Repeat the process of walking the bike using only the clutch. During the entire “Rock It. Crawl It. Walk It.” drill, the rider’s hands are always covering the clutch, feathering and finessing it in and out, yet never fully releasing it. The movement of the motorcycle is completely controlled with only the clutch. Mastering this skill is essential to riding slowly. “Smooth” is key. Any lurching or imbalance will make slow maneuvers almost impossible.
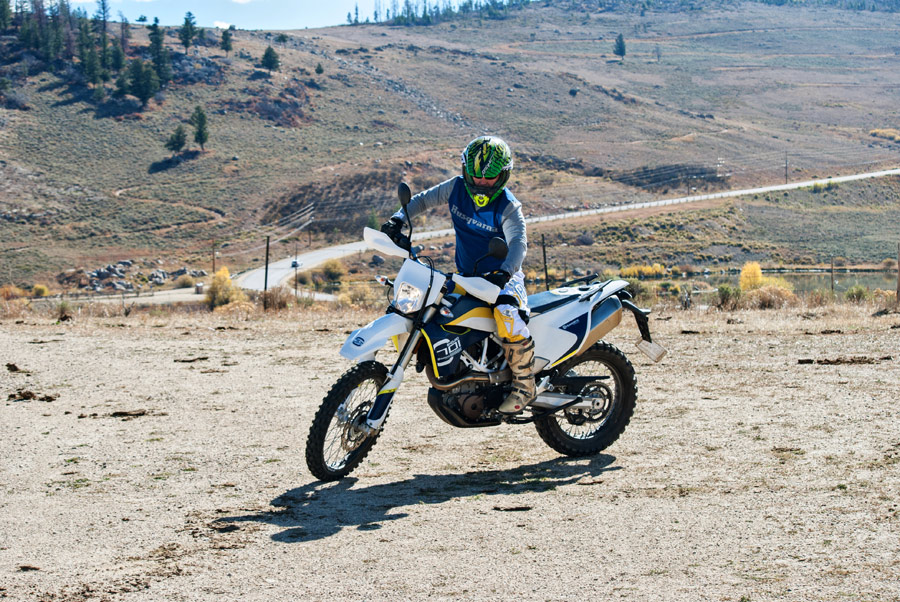
• Technique Four: The Bike Squat
Once you understand how to gently slip and feather the clutch to control the motorcycle, you’re ready to practice riding slowly in both seated and standing positions. During slow drills, I coach riders to brake with the rear brake rather than the front brake for several reasons. First, squeezing the front brake causes the bike to “nose dive,” making it harder to balance, whereas pressing the back brake causes the bike to settle down. I also find newer riders can get confused with the combination of throttle and front brake. Since we are focusing on balance, I simplify the drill for optimal balance.
I like to challenge high performing riders with a trials-style “Bike Squat” drill that is especially helpful for shorter riders. This is a great way to track stand the bike and/or move extremely slowly in a straight line and in turns. Ride the motorcycle slowly in first gear from a standing position on the bike. While keeping the throttle slightly on and steady, pull in the clutch while gently dragging the back brake. Feather the clutch in and out as necessary. The tension between the engine’s forward energy and rear brake will cause the motorcycle to squat down and grip the ground. This lower center of gravity and gripping are helpful for track standing. Remember the throttle is steady while the clutch and rear brake are gently finessed. Once riders get proficient, they can add suspension compression and popping the clutch as they release from track standing to an unweighted or lofted front wheel. This advanced technique comes in very handy in tricky technical sections where longer legged riders might just dab their way through.
• Technique Five: “The Jacques Turn”
I’ve had my share of tip-overs executing slow speed turns. Like most, I was used to “turning around the inside foot.” The conundrum is when I put my short-legged inside foot down, all my weight shifts to the inside, making it impossible for me to counterbalance. Also, when I put that inside foot down, my body is facing forward rather than into the turn. To get feet, knees, hips, shoulders, and head facing the direction of the turn, I devised a highly effective method for slow speed turns that virtually eliminates slow speed tip-overs. My team of coaches have dubbed this “The Jacques Turn.”
We coach riders to retrain muscle memory by speaking the four steps of “The Jacques Turn” aloud. With practice, this new method will become second nature.
Step 1. Inside foot UP on the footpeg.
Step 2. Shift inside butt cheek to the outside of the seat.
Step 3. Move outside foot forward of the outside foot peg and point the toe in the direction of the turn.
Step 4. Turn handlebars in the direction of the turn.
Your feet, knees, hips, shoulders and head are now facing into the turn while the motorcycle is upright, and handlebars are cranked into the turn. The next phase requires masterful clutch control as riders feather the clutch as taught in “Rock It. Crawl It. Walk It.” You can simply “walk the motorcycle” in a tight steering lock turn. This simulates making a U-turn or maneuvering in a parking lot. Increasing the speed of the turn a bit allows you to balance the bike as you place the outside foot on the outside foot peg. Since body weight is on the outside, you are now naturally positioned to counterbalance the motorcycle. This makes for a seamless transition to standing position weighting the outside foot peg.
Riders of all sizes are capable of any challenge on the trail. Choose the best bike for your physical stature, modify the motorcycle to fit your body, and practice the techniques above for unlimited riding fun.
See videos of “Rock It. Crawl It. Walk It.” and “The Jacques Turn” at ADVWoman.com/video-library
Click here to read 10 Tips for Short Riders: Bike Set-Ups!
 Pat Jacques is a ground-breaking woman who has raced professionally in men’s motocross. Retired from racing, she still enjoys spirited single-track riding and adventure touring. Jacques’ passion is empowering women and getting families out riding motorcycles together. As the CEO of ADVWoman, Jacques holds an annual off-road training event in Granby, CO. The 2018 ADVWoman Rendezvous, scheduled for July 19–22, 2018, is taught by women and for women and their families. Jacques and coaches also lead Backcountry Discovery Route training tours and in 2019 will launch Zero to Hero, a comprehensive training program for new riders. ADVWoman.com