Sticky logo
 Search

Folklore has it that the best way to get through the washboards is to simply go fast and skim across the top to smooth out the ride. There is some truth to this wisdom, and it works well for a small-cc motorcycle when crossing a short section. But what about a dual-sport or ADV bike loaded with gear and many miles/km to go?
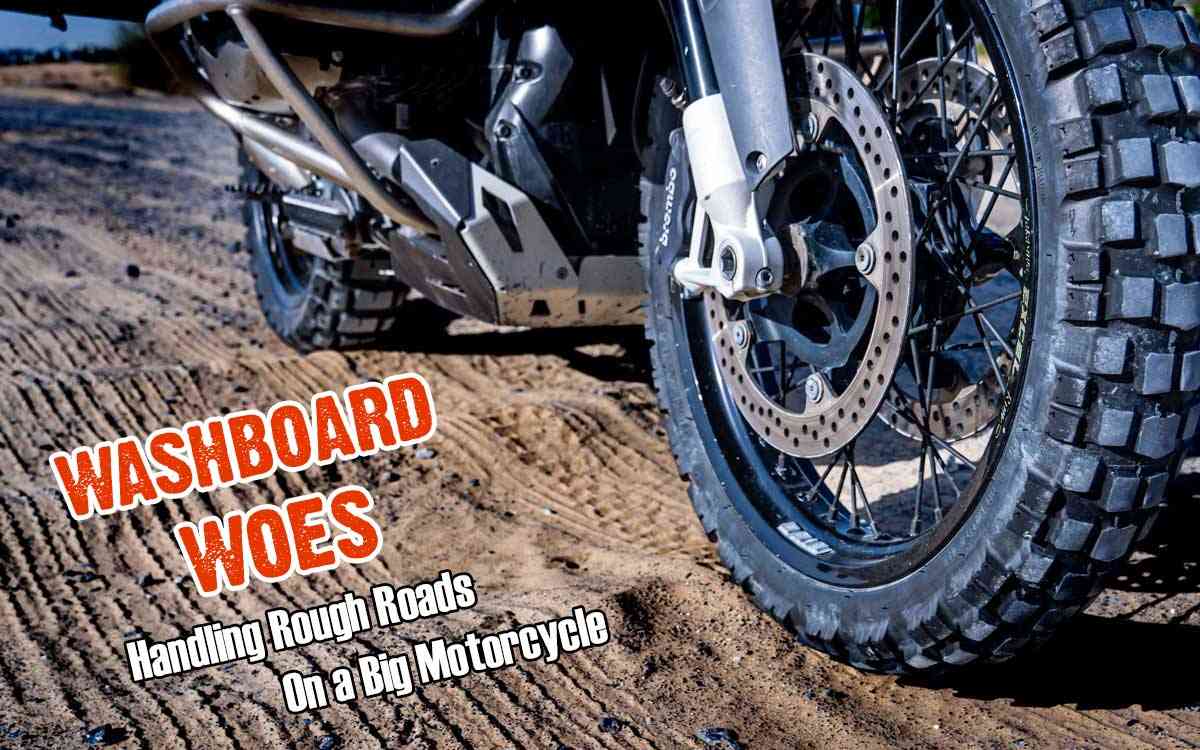
Washboarding (or corrugation) is a challenge you’ll often face on gravel roads and dirt trails. These rippled surfaces can challenge even the most seasoned rider. The bumps create less tire contact with the surface, which might be tricky if you’re unprepared or unsure how it’ll impact your ride.
Tips for Taking on the Bumps
- Adapt to the road’s rhythm—On long stretches with heavy bikes, it’s wise to slow down a little and select the cleanest lines you can find.
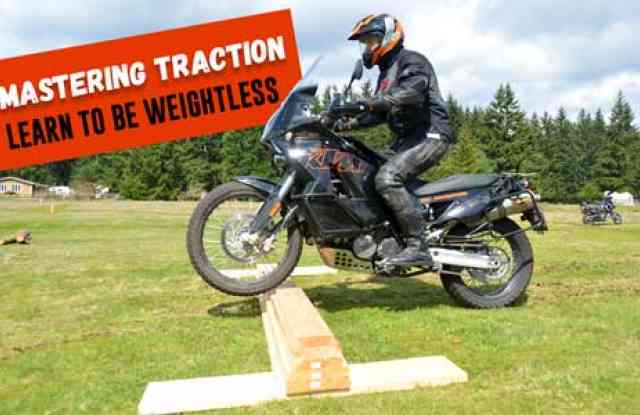
- Stand on the pegs—Standing offers a better field of view to scan for the best line to ride, and it allows your legs to help the bike’s suspension soak up all the ups and downs.
 Stand tall to better absorb the bumps and extend your field of view.
- Test suspension settings—The bike’s suspension can take quite a beating when riding long sections. If your forks or shock are adjustable, spending some time tweaking your compression damping and rebound could make a big difference. Do this by turning up the damping a few notches and giving it a go. Then, try doing the same for the rebound. Fine-tune with minor adjustments until you find what works best for you. It might take some trial and error, but finding that sweet spot will be worth it! If your motorcycle has automatic suspension settings, you may be more limited in how much it can be dialed in.
- Be mindful of tire pressure—Tire pressure affects handling on washboard surfaces. Lowering air pressure slightly may give more traction, but don’t go too low because you may risk denting your rims on the bumps, damaging the innertube or tire, or getting a flat.
- Avoid mid-day sun if possible—On long, challenging sections, if possible, try riding early in the morning or late in the afternoon when shadows can help highlight washboard patterns. These visual markers make it easier to avoid deep ruts as you negotiate the best line.
 Look for shadows that highlight the washboard pattern, deep ruts, or loose gravel.
A Special Note on Selecting a Line
It may seem obvious, but line selection is critical to tackling washboard roads successfully. One option is to avoid the worst bumps by riding closer to the outside edge of the road. This area tends to have less vehicle travel, so the washboard formations may not be as bad there. But be careful! This choice comes with some risks:
- Road edges can be tight and leave little room for on-the-fly adjustments.
- Scattered gravel and debris are often found here, resulting in a loose traction surface.
- A small pile of debris may build up along the road’s outside edge. Grazing this with your front wheel might lead to a wobble or washout.
 Navigate the rough terrain and enjoy the bumpy roads less traveled.
Navigating Corners and Curves on Washboard Roads
Use the throttle and brake wisely when navigating bumpy corners. Too much throttle in the turn might lead to wheel spin, while heavy braking could lock up your wheels on loose gravel.
Before entering the turn, slow down. Then, keep a steady speed all the way through it. Avoiding sudden accelerations or decelerations in the turns will help keep your tires in contact with the road surface and offer better bike control. Counterbalancing the bike’s weight mid-turn also plays an essential role in maintaining traction.
Preparing Your Motorcycle: Before and After Riding Washboard Roads
Your motorcycle will experience extra vibration on long sections of washboard roads. So, it’ll need some extra TLC before and after the ride, such as:
- Tighten It Up—Small bolts not under much tension are susceptible to coming loose (for example, bolts that hold fairings in place). It’s important to make sure everything is tight, even if you’ve applied thread lock.
- Secure Your Gear—Ensure your gear is fastened tightly. This keeps everything more stable, and you’re less likely to lose gear this way. Wrap fragile items like camera lenses or glasses in your travel bags carefully, as they can get damaged from the extra vibration.
- Suspension System Assessment—Check the bike’s front and back suspension for any oil leaks. They’ll get a real workout on rough roads. Also, check tire pressure. Having just the right amount of air helps you control better on bumpy ground. Remember to keep an eye out for dents in the rims.
 Carry a tool roll on all off-road adventures and inspect components often.
Drive Chain/Chassis
After the ride, checking the frame and drive chain is important. Look for any signs of wear or tear that might need fixing before you hit those back-country roads again. Remember, it’s not unusual for rear linkages or swing arms to break down when a bike is overloaded.
- Brakes—Inspect the brake line and caliper immediately if you spot any fluid leakage near the brake system or notice any irregularities in the brake function.
- Electrical Components—Rough roads will shake things up, sometimes causing loose wires and electrical problems. This may result in turn signals or taillights that don’t work. Safety should always be your priority. Before you start on regular roads again, check all your lights to ensure they work as they should.
You will inevitably encounter charming rural roads with bumpy washboard surfaces. Adapting your riding to the environment by pacing yourself, choosing your path wisely, and adjusting your suspension for the terrain is vital. This approach will allow you to navigate your journey smoothly and safely.
 ADVMotoSkillZ coach Mike Carroll is an off-road motorcycling enthusiast and instructor. He is a certified Enduro Action Team Off-Road Instructor and channels his passion into ADVMotoSkillZ. Mike and his wife, Kristen, co-founded ADVMotoSkillZ and enjoy helping riders improve their off-road capabilities. AdvMotoSkills.com