Sticky logo
 Search

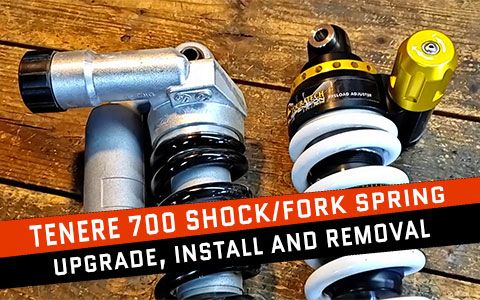
Yamaha's Tenere 700 is a smash hit but heavier or more aggressive riders feel it's necessary is to improve the front and rear suspension which was originally designed for 150lb jockeys. Scroll down for the install video, removal/installation instructions and torque values for all major related bolts and nuts. If you're well away from Yamaha's target rider weight, you may find the following upgrades will make your Tenere 700 not only more comfortable, but fun as well.
{youtube}uIZ4jMNe95A{/youtube}
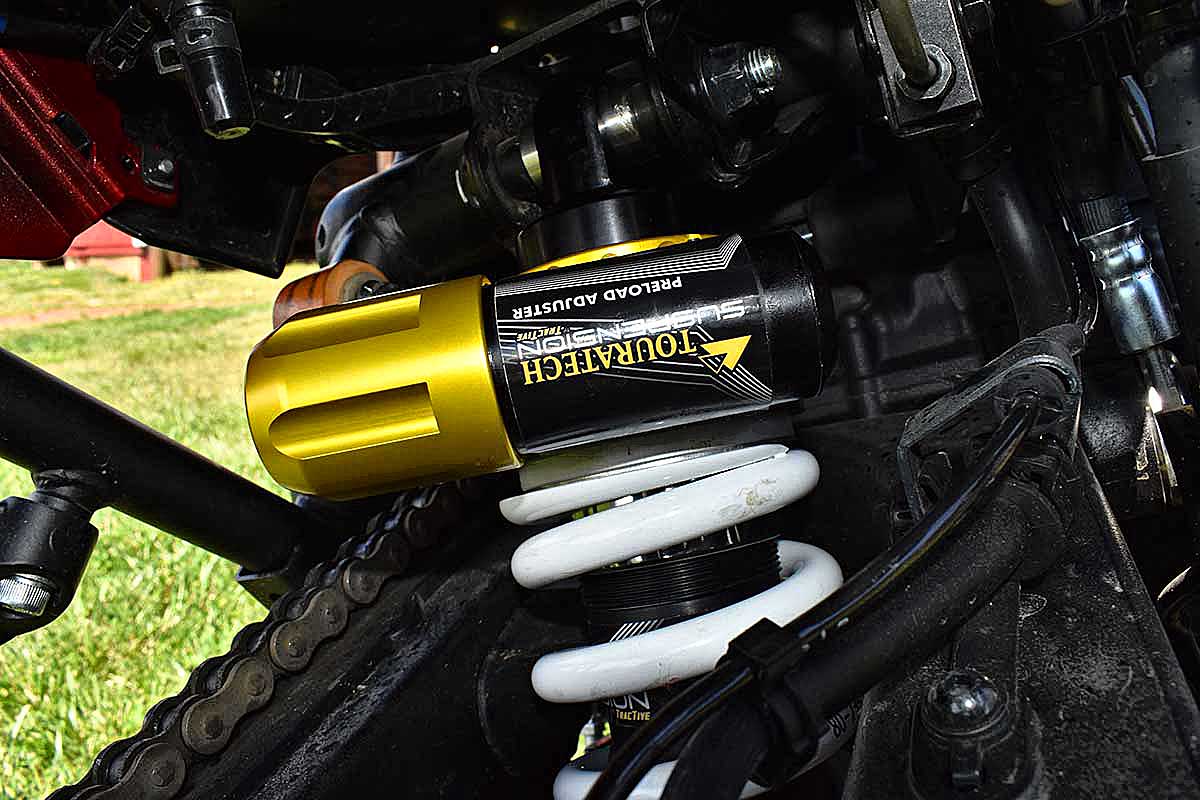
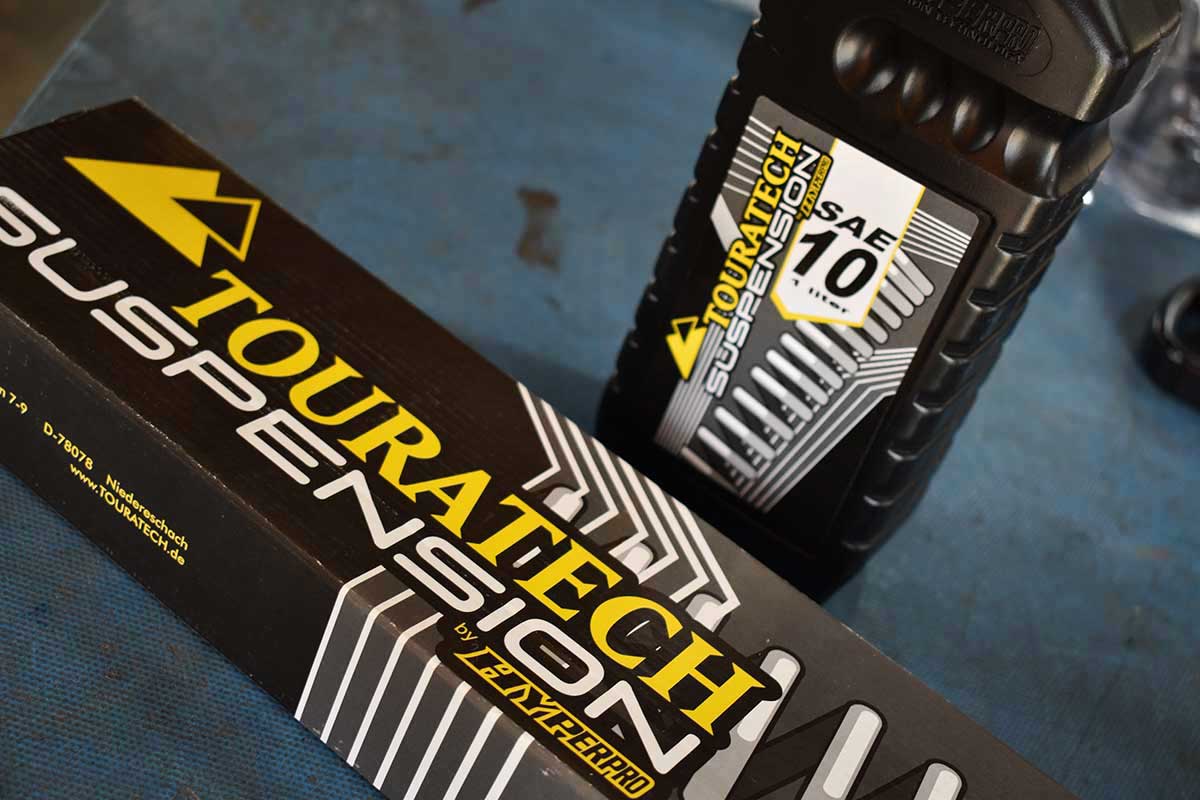
On any bike, it is strongly recommend addressing front and rear together to keep things balanced. For the ADVMoto Tenere 700, we’ve opted to go with a Touratech Explore HP upgrade shock and also the Touratech Progressive Fork Spring Kit with 10w fork oil. While we're in there, we also tackle the "Greasegate" and lube up the rear suspension linkage many owners are finding arrives a little dry from the factory. There are some quirks to working around the OEM centerstand too, we point those out while working on the upgrades and maintenance.
Whether doing a whole shock upgrade or pulling the stock shock to swap springs, we hope you find the video useful as a general guide. This article and video are not meant to be a "bolt by bolt" removal guide for the Tenere 700's front and rear suspension; but if you know how to remove basic components like bodywork or wheels and can work with basic nuts and bolts, you'll do just fine.
After having completed the install, we can say the Tenere 700 is much easier to work on than the average ADV bike. The top and bottom rear shock bolts are a cinch to access along with the lower suspension relay (the L-shaped linkage piece) bolts needed to access those thirsty bearings.
• Initial Ride Impression After the Upgrades
Both the fork and shock upgrades from Touratech feel well balanced for a 200+ pound rider. During street riding and cornering, there's a dramatic reduction to nose diving when hard braking. Small and medium sized dips and bumps are now managed with much less disruption to the front wheel and rider. It would be nice to also have adjustable preload caps in the front, but as a drop-in kit, this is already a dramatic improvement in the front end. Also, our front fork settings were never changed from factory so we'll try increasing the compression damping with the new heavier fluid and see if that provides an even firmer feel.
The rear shock upgrade is perhaps the biggest difference. Having the spring and valving balanced creates a more neutral feeling in the shock. We haven't bottomed it out yet, but on gravel road pot holes and wash out, the back end is much more composed while staying on the ground better on uneven pavement and cornering. There's also notably less squatting under hard acceleration. Replacing the stock shock with a heavier spring means the stronger spring is working against valving which is set for a lighter load and you may run out of rebound or compression adjustment with heavier or more aggressive riders. Again, this may be perfectly sufficient for many riders' needs and can be explored fairly easily. One point worth noting is adding stiffer springs will reduce sag and, for some, increase the saddle height to less comfortable levels.
So far, as a touring shock, the Touratech front and rear suspension kits do what they've promised: provide a more comfortable and competent ride for handling the conditions we'd expect from adventure touring. From asphalt, to gravel and even some harder fire roads I'd say this is a great setup. If you are a much heavier or more aggressive/technical rider (especially if you like to catch air and wheelie) you'd really want to look at something firmer and race/rally oriented. Again, creating a suspension system that can do everything for everyone under any conditions is a white whale. Thankfully, there's a range of Tenere 700 suspension options out there for nearly any rider and riding style. We'll post any updates to our expereinces with this setup here!
Primary torque specifications for all related major components to this job are listed below. If there are any errors or info you'd like to add, please let us know in the comments!
• Tenere 700 Rear Shock Removal General Instructions:
- Place bike on centerstand. Without a centerstand, you'll need to use your available resources to safely support the frame, keep the rear wheel off the ground, and swingarm unloaded.
- Remove two lower side panels to access the rear shock's top bolt and nut.
- Remove shock spray/mud shield.
- Remove lower mount shock nut and bolt. Then remove the upper nut and bolt while holding the shock to keep it from dropping.
- Pull the OEM shock unit out OVER the rear tire (see video). There's plenty of room for this...thanks Yamaha!
- If you have the OEM centerstand and choose to grease the L-shaped suspension relay/linkage piece, the lower dog-bone bolt cannot be removed until AFTER the shock is removed. Just remember it needs to be replaced BEFORE the shock is reinstalled.
- Installation is reverse of removal. BE SURE TO CHECK THE TORQUE SPECS BELOW when reassembling. Also, you may want to ride it a bit, then check/re-tighten for good measure.
• Tenere 700 Front Fork Spring and Oil Replacement General Instructions:
- With a centerstand, place a jack under the bike and secure the bike to lift the front wheel off the ground. Without a centerstand, you'll need to use your available resources to safely keep the front wheel off the ground.
- Remove front wheel, fender, brake calipers, brake lines (mounted to fender) and ABS sensor.
- Loosen the fork top caps but do not fully remove. Then loosen the four (each side) fork tube clamp bolts and gently slide the tubes out the bottom.
- Place the fork tube in a vice with soft jaws or other gentile clamping device in a vertical position. * DO NOT OVER TIGHTEN THE VISE AS IT MAY DEFORM AND DESTROY THE TUBE.*
- Working on one fork tube/leg at a time, fully unscrew the top cap and remove the spring seat underneath. Note how they are assembled or snap a reference picture for reassembly. This will expose the spring and lock nut underneath. Use an 18mm open end wrench to hold the locking screw while loosening the cap from the rod with a 19mm socket.
- With the cap off, you can now pull the spring out. Remove the spring and get ready to turn the fork tube upside down to empty the old oil into an appropriate bin or bucket.
- Turn the fork leg over and empty out any oil and also pump the inner rod (not shown in video)
- Replace the fork tube vertically in the vice and get ready to install the correct amount of oil.
- Fill the new oil to about 3 inches from the top. Pump the inner rod up and down several times to work the new oil throughout the components.
- Using a tool like the Motion Pro Fork OIl Level Tool, set the oil depth to 110mm and draw out any excess oil. If there's too much for just pull, empty the tool into the fork oil bottle and go back for more. When it stops drawing oil, you've reached the correct oil level.
- Now you can place the spring, but first you'll need to attach a string to the locknut and run it through the spring. This is important so you can pull the rod up through the middle of the spring.
- With the rod protruding through the top of the spring (you may need to pull the spring down a little), place the spring seat on top of the spring and spin the top cap on a few threads.
- Remove the rod string (don't drop it in the fork!) and, being sure the lock nut is at the bottom near the white spring guide, spin the top cap all the way down. Tighten the cap against the locknut, the the lower drop and start to loosely thread the cap back into the upper body.
- Reinstall the fork legs being sure the legs are sitting at the same height in the clamps. Install the fender, lines, calipers and wheel to the bike using the torque values below.
- Finally, torque down the fork tube caps and you're ready to go! We strongly suggest checking the torque values again after a quick shakedown ride just to be safe. Most importantly, be safe and enjoy your new suspension!
• Yamaha Tenere 700 Suspension Fork and Shock Torque Specifications:
Rear Shock:
- Rear Shock upper (top) nut: 33 lb.ft / 45 Nm
- Rear Shock Lower (bottom) nut: 33 lb.ft / 45 Nm
- Upper Suspension Relay Bolt (attaches to frame): 44 lb.ft / 60 Nm
- Lower Suspension Relay Bolt (attaches to linkage/dog-bones): 35 lb.ft
- Rear Shock Suspension Relay Bolt (attaches to lower shock mount): 33 lb.ft / 45 Nm
- Dog Bone/Linkage to Lower Swingarm Mount: 35 lb.ft / 48 Nm
Front Fork:
- Front Wheel Axle: 53 lb.ft / 72 Nm
- Front Wheel Axle Pinch Bolt: 15 lb.ft / 21 Nm
- Front Brake Caliper Bolt: 30 lb.ft / 40 Nm
- Front Fork Cap: 22 lb.ft / 30 Nm
- Upper Bracket Pinch Bolt: 17 lb.ft / 23 Nm
- Lower Bracket Pinch Bolt: 15 lb.ft / 20 Nm